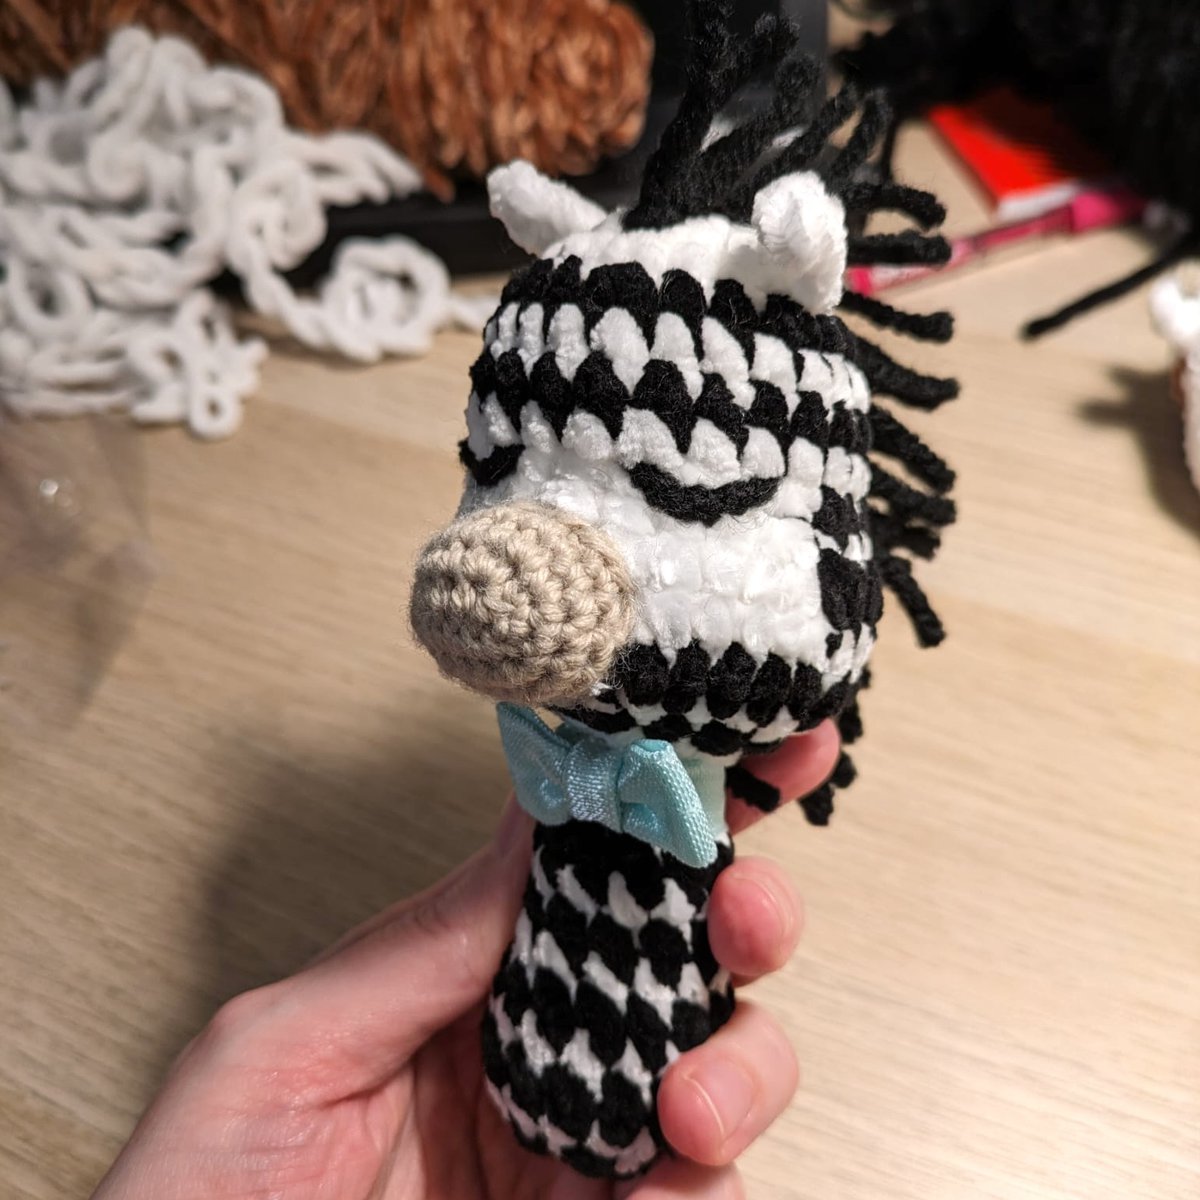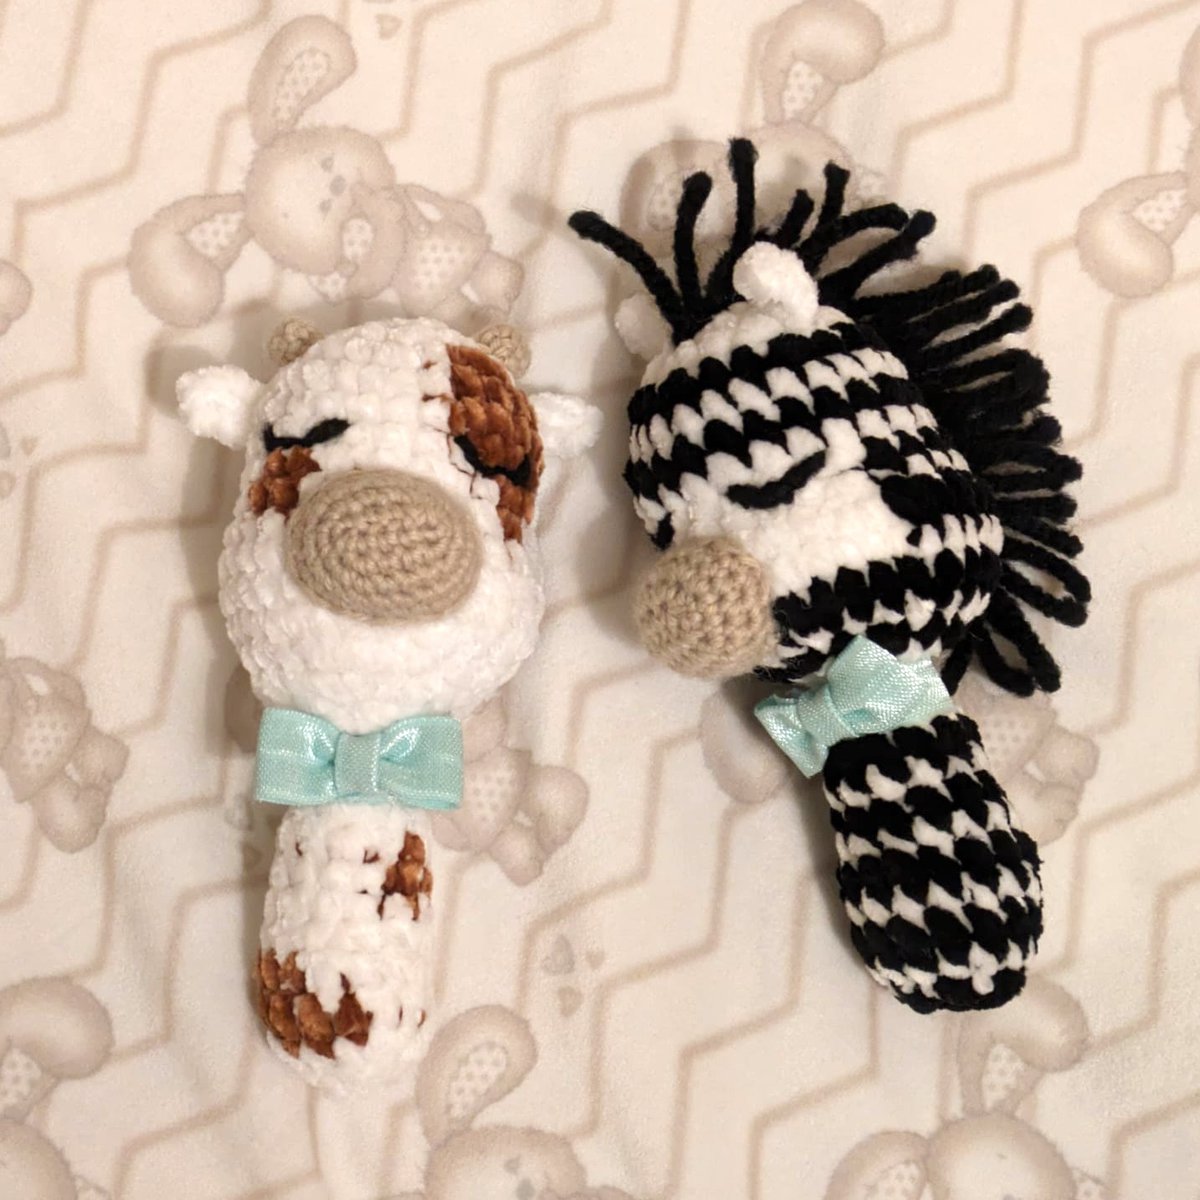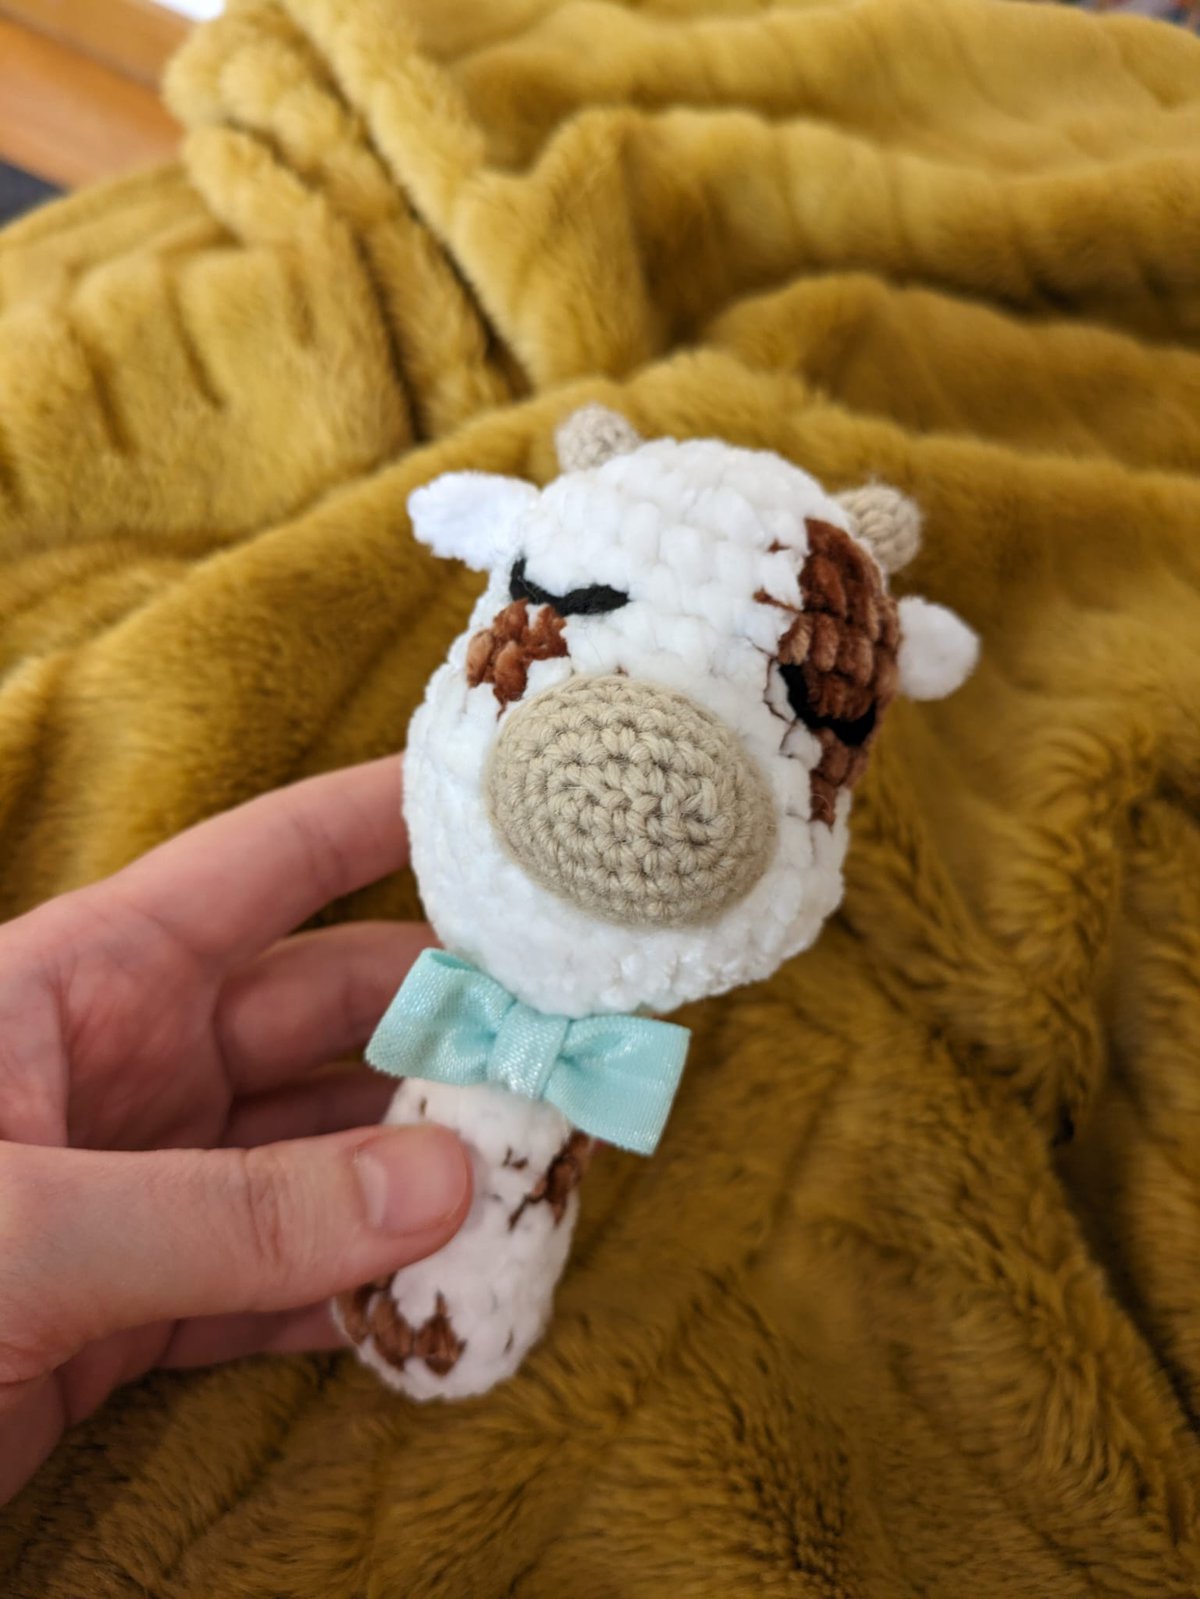
Guess what? Two of my best friends decided to join the parent club recently, and I couldn't resist whipping up something special for their adorable bundles of joy. So, I present to you my latest creation – the cutest animal baby rattle ever!
I was on a mission to make something quick, yet adorable, and this pattern is the result of my crochet magic. It's simple, it's sweet, and it's the perfect little companion for those tiny hands. I'm beyond excited to share this pattern with you all!
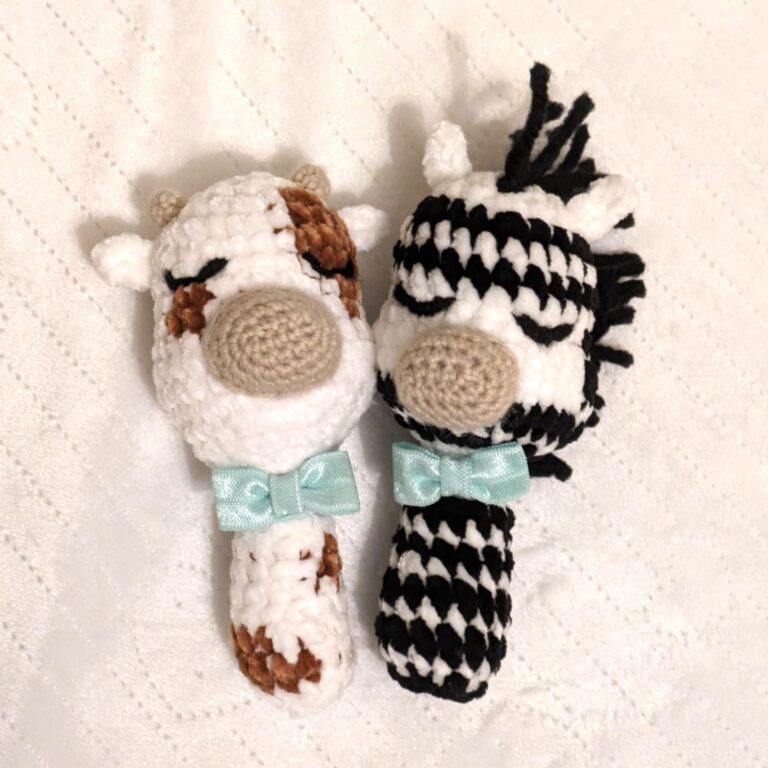
We will start with the head. The basic head shape stays the same no matter which animal you're crafting. However, you may need to transition between colors to incorporate spots or stripes.
Start with the yarn color of your choice.
Rnd 1: ch 2, work 6 sc into first ch - 6 sts.
Rnd 2: 2 sc in each st around - 12 sts.
Rnd 3: [2 sc in next st, sc in next st] 6 times - 18 sts.
Rnd 4: [2 sc in next st, sc in next 2 sts] 6 times - 24 sts.
Rnd 5-7: (3 rounds) sc in each st around - 24 sts.
Rnd 8: [2 sc in next st, sc in next 3 st] 6 times - 30 sts.
Rnd 9: [2 sc in next st, sc in next 4 st] 6 times - 36 sts.
Rnd 10: sc in each st around - 36 sts.
Rnd 11: [sc2tog, sc in next 4 sts] 6 times - 30 sts.
Rnd 12: [sc2tog, sc in next 3 sts] 6 times - 24 sts.
Rnd 13: [sc2tog, sc in next 2 sts] 6 times - 18 sts.
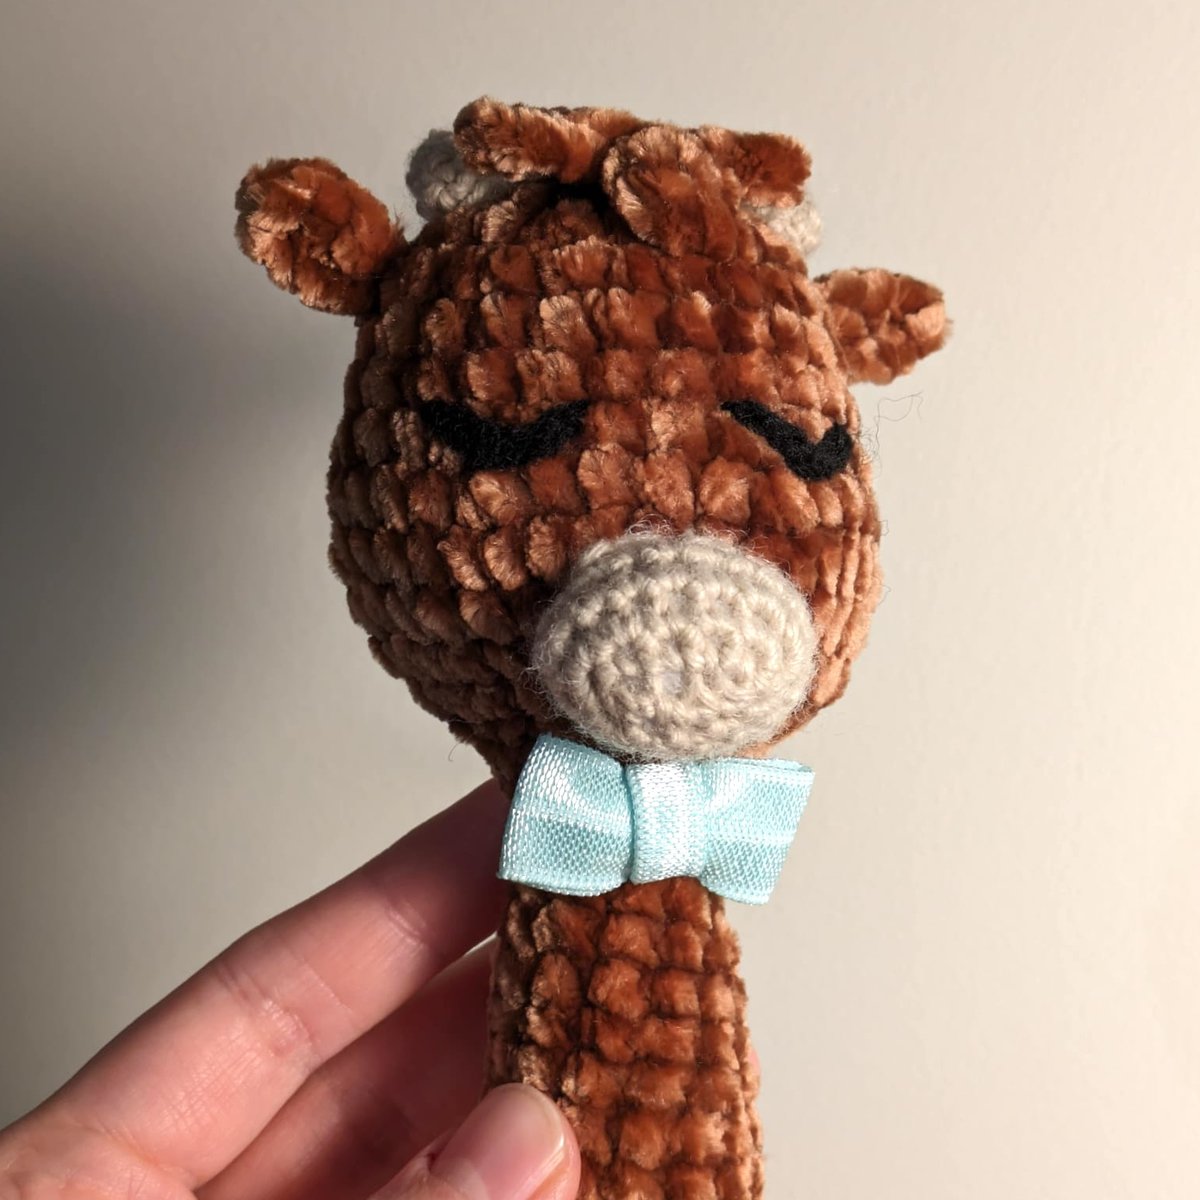
We will pause here and make the other components of the head: ears, muzzle, horns (if applicable), etc.
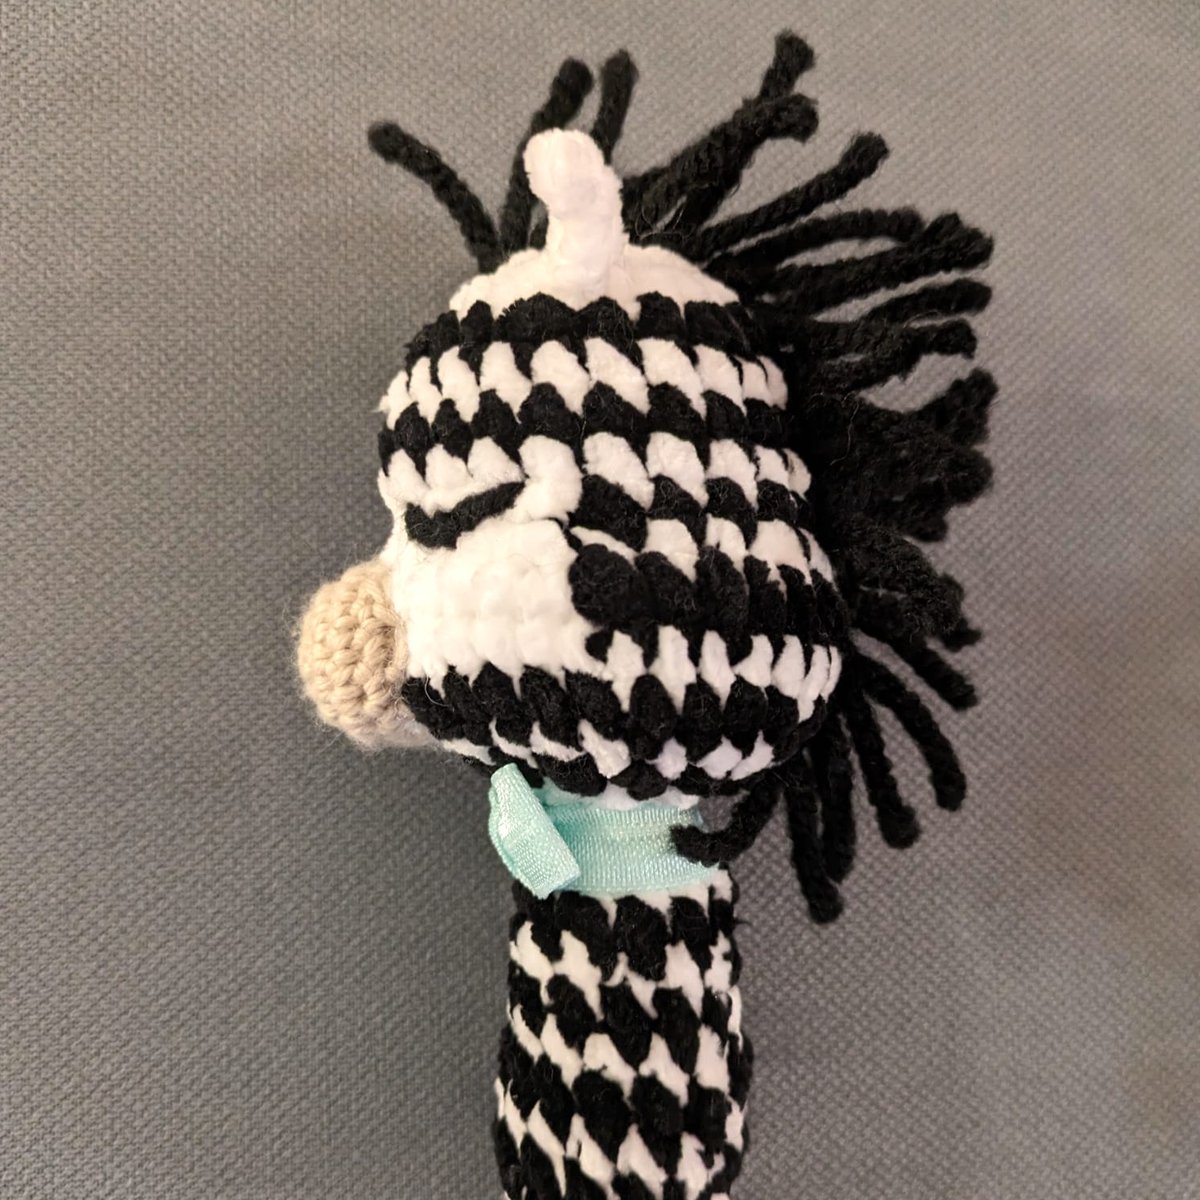
Ears (make 2): ch 4, insert hook into previous st and sc into each stitch. Tie or sew to the head.
Muzzle: for this part, we’ll use the beige cotton yarn. We’re going to start with a chain, and work around it to create an oval.
ch 6, skip one stitch and insert hook into next st. sc in next 4 st. Add 3 sc in last stitch. Add a stitch marker of a piece of yarn in the second stitch of the last 3 sc. Turn your work and sc back into every stitch on the other side of the chain. Mark second-last stitch with a stitch marker or a piece of yarn. This is the end of the first round.
sc in every stitch until you get to the stitch before your first marker. 2 sc on that stitch, 3 sc in the stitch with your first marker, and 2sc on the next stitch. Repeat the process on the other side.
Repeat the process until you get the desired oval size, then st in each st around for 2-3 rounds.
Horns (make 2): ch 2, work 6 sc into first ch. sc in each st around for 3 rounds.
Now, we’ll attach all parts to the face and embroider the eyes. Once everything is attached to the head, we will add the jiggle bell and fill until the head is firm.
Rnd 14: [sc2tog, sc in next st] 6 times - 12 sts.
Rnd 15: [sc2tog, sc in next 4 st] 2 times - 10 sts.
Rnd 16-18: (3 rounds) sc in each st around - 10 sts.
Rnd 19: [2 sc in next st, sc in next 4 sts] 2 times - 12 sts.
Rnd 20-21: (2 rounds) sc in each st around - 12 sts.
Rnd 22: [2 sc in next st, sc in next 5 sts] 2 times - 14 sts.
Rnd 23-25: (3 rounds) sc in each st around - 14 sts.
Rnd 26: [sc2tog, sc in next 5 st] 2 times - 12 sts.
Fill the rest of the toy with polyester fiberfill, cotton or similar.
Rnd 27: sc2tog in next 6 sts - 6 st.
Rnd 28: sc2tog in next 3 sts and fasten off - 0 st.
With a piece of ribbon, make a bow and wrap it around the neck. I’d recommend sewing it to the rattle.
Now your toy is ready!
___________________________
Disclaimer: This post might contain affiliate links. When you buy through links on our site, we may earn an affiliate commission, at no additional cost to you.