3.5mm Crochet Hook, Supers Smooth 3.5 mm Ergonomic Crochet Hooks for Beginner, Comfort for Arthritic, 1 Pack
YOJOB
See on Amazonby Adriana Maronese
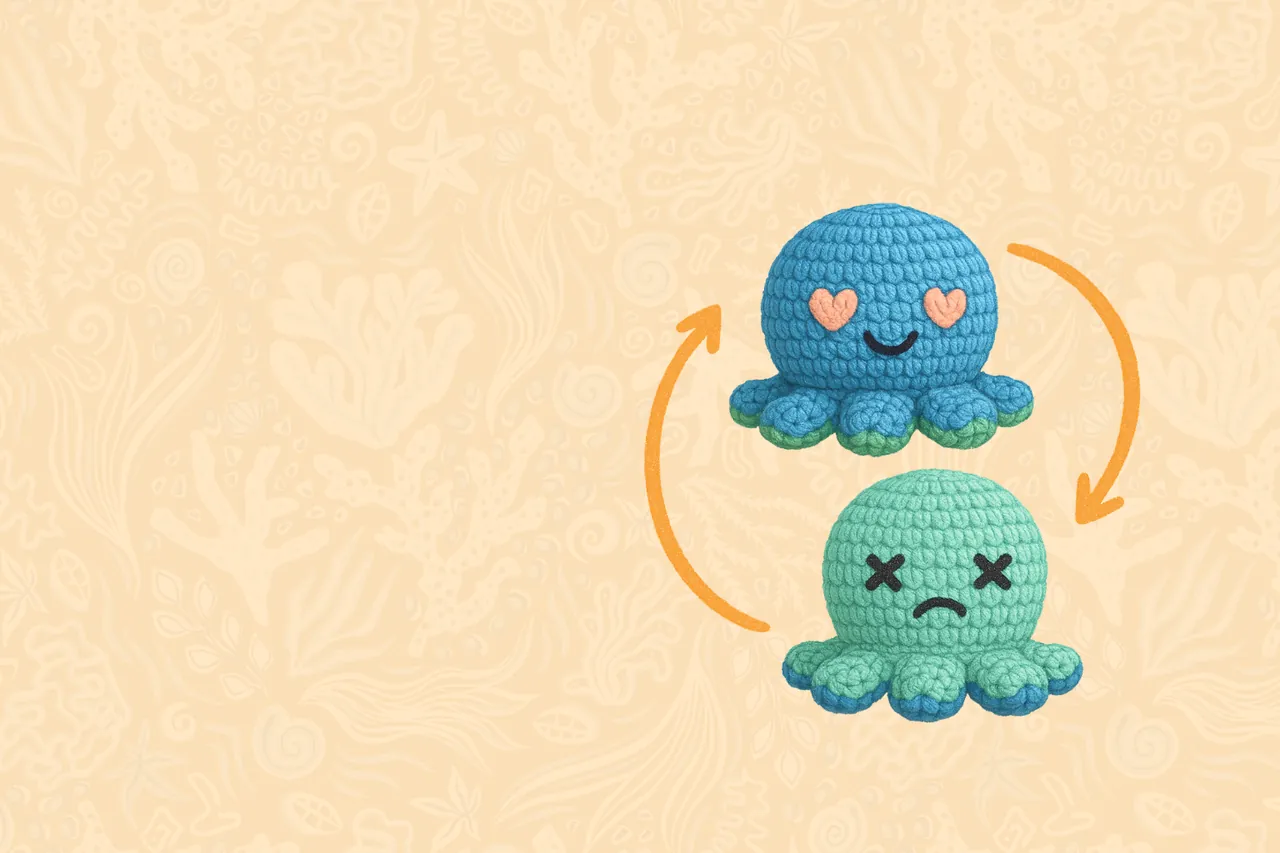
So, here’s a fun little story for you – I’ve been working on helping my 2-year-old identify his emotions, and it's been quite the adventure! We had a moment when I thought, "Wouldn't it be amazing if there was a fun way to help him understand his feelings better?" And then, out of nowhere, I remembered this reversible octopus toy I’d seen before. You know, the one with the happy face on one side and the sad face on the other?
I didn’t have one on hand, but I was like, “I can totally make this myself!” And just like that, I grabbed some yarn, and within a few hours, this little crocheted octopus was born! It’s the perfect way to help kids (and adults) visualize and talk about their emotions.
This pattern is all about fun and personalization – you can add any emotions you want to your octopus! So, if you're looking to create a super special toy that helps express those feelings, this is the perfect project for you.
You’re welcome to sell your creations made from this pattern, but please make sure to mention or tag me!
YOJOB
See on Amazon
KECHE
See on Amazon
KECHE
See on Amazon
Jaasuee
See on Amazon
FIVEIZERO
See on Amazon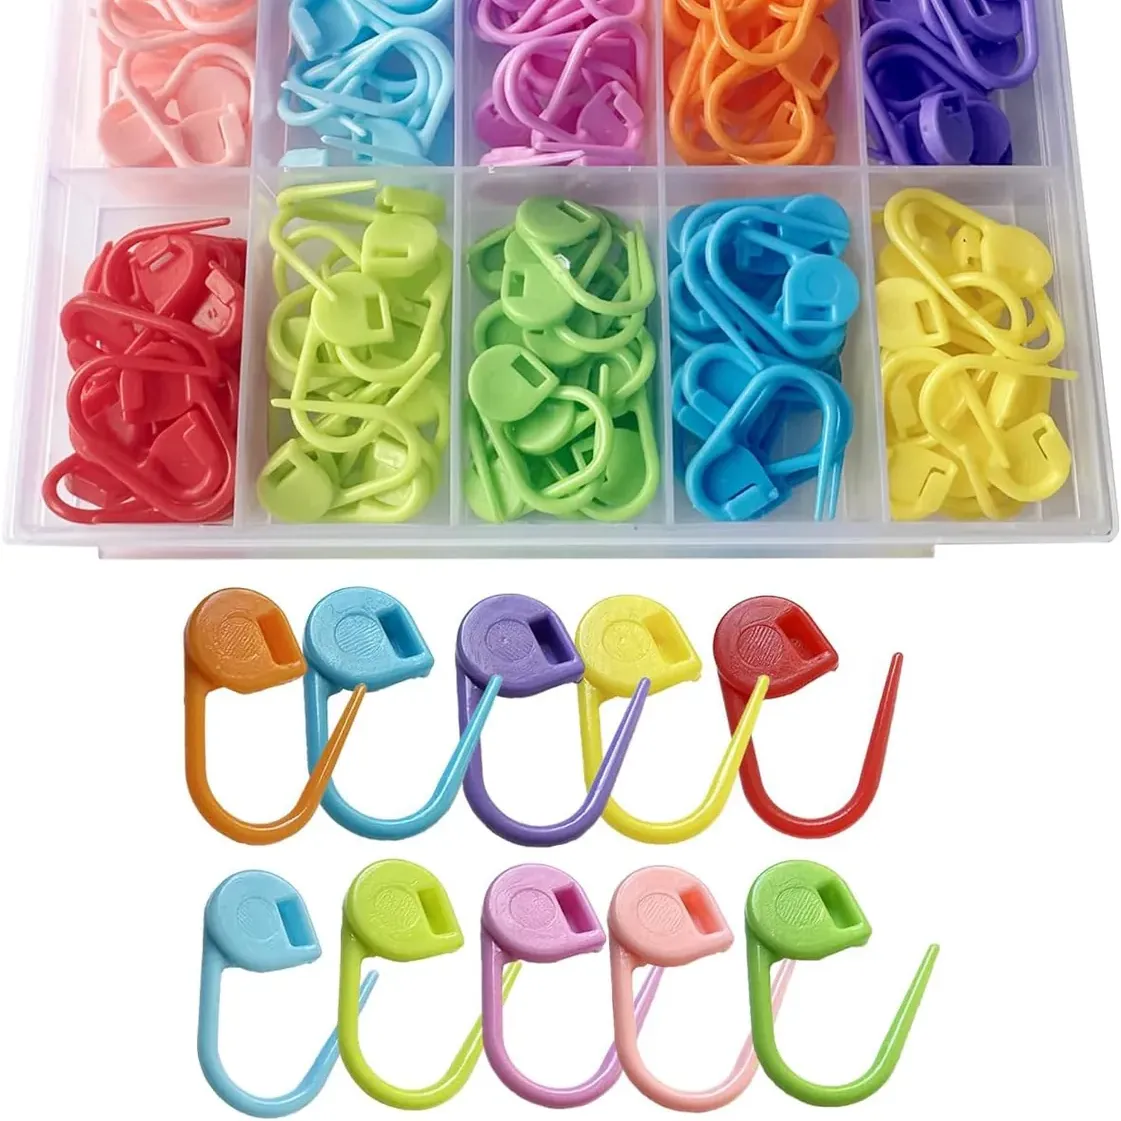
Meikeer
See on AmazonStart with the yarn color of your choice.
Rnd 20 (Tentacle Base): FLO, inc in each stitch around. (48 sts)
In short:
1st st – hdc, dc, tr
2nd st – 3 tr
3rd st – tr, dc, hdc
sl st in next 3 sts
x8
Repeat the instructions for Side A, in a different color. When you finish, do not cut the yarn—you’ll use it to join both sides together.
Face Details: When you have both sides, it’s time to add the details. Add safety eyes or embroider a happy face on one side and a grumpy, sleepy, or silly one on the other. Add decorative stitches (like stars, hearts, or blush) before joining the halves.
Place Side A and Side B with their wrong sides (bottoms) touching. Make sure the stitches line up all the way around.
Using the yarn still attached to Side B, begin joining the two sides with single crochet through matching stitches of both pieces. (Tip: The tentacle arches have lots of stitches—it’s totally fine to skip one occasionally to keep it neat and flat.)
Before fully closing, lightly stuff the head through the opening.
Continue joining until the circle is completely closed.
Fasten off and weave in the yarn tail securely.
Beautiful creations made by crafters like you!
Get this pattern sent to your inbox — free!
No spam, ever. Unsubscribe anytime.